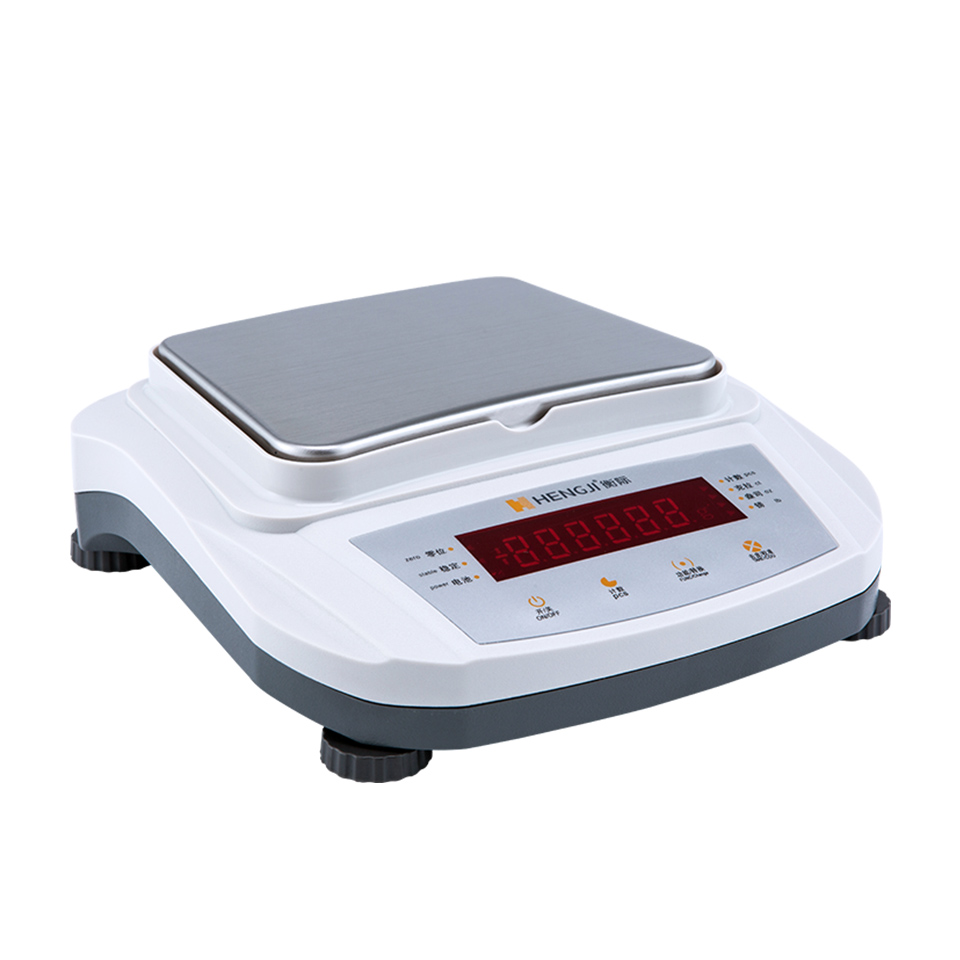
The support point of the electronic balance uses a spring leaf, cancels the lifting frame device, uses a digital display instead of a pointer scale display, and uses a small integrated circuit. Therefore, electronic balances have the advantages of long life, stable performance, high sensitivity, small size, easy operation, easy installation and simple maintenance.
The electronic balance adopts the principle of electromagnetic force balance. There is no need for weights in the whole scale when weighing. After placing the weighed object, it reaches equilibrium within a few seconds and displays the reading. Some electronic balances are controlled by a single-chip microprocessor, which can achieve fast weighing speed, high precision and good accuracy.
Electronic balances also have functions such as automatic correction, cumulative weighing, overload indication, fault alarm, and automatic tare removal, making weighing operations more convenient.
The electronic balance has a quality signal output and can be used with printers and computers to realize automation such as weighing, recording, printing, and calculation. It has RS232 standard output interface. At the same time, it can also be used in conjunction with other analytical instruments to automate the entire process from sample weighing, sample processing, analysis and testing to result processing and calculation, greatly improving production efficiency.

Operation steps
(1) Leveling: Adjust the height of the anchor screw so that the air bubble in the level is located in the center of the ring.
(2) Power on: Turn on the power, press the power button until the full-screen self-test.
(3) Preheating: The balance needs to be preheated for at least 30 minutes after being powered on for the first time or after a long power outage. Some models require more than 2.5 hours of preheating. To obtain ideal measurement results, the balance should be kept in standby mode.
(4) Calibration: The balance must be calibrated for the first time. Press the calibration button for four seconds. The balance will display the required calibration weight mass. Place the weight and the calibration is completed.
(5) Weighing: Use the tare key to clear the tare. Place the sample for weighing.
(6) Shut down: The balance should always be powered on (24 hours). When not in use, turn the switch key to standby mode to keep the balance warm, which can extend the service life of the balance.